
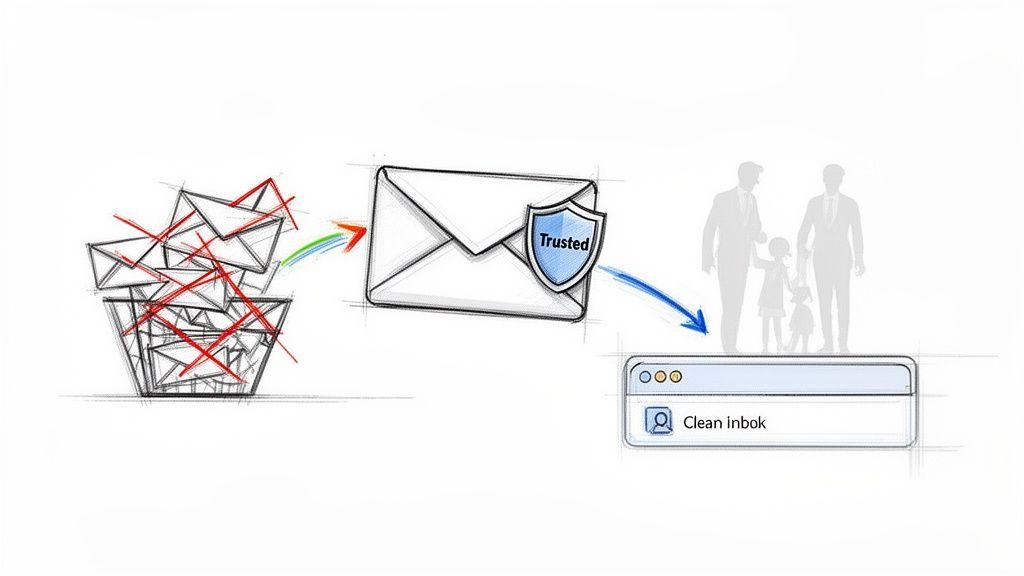
Think of whitelisting an email as giving a sender a VIP pass to your inbox. You're essentially telling your email provider, "This person is important. Make sure I see their messages." It's a simple, powerful way to guarantee that critical communications from clients, your kid's school, or key services don't get lost in an overzealous spam filter.
Why Whitelisting Emails Is a Critical Skill in 2026
Ever had that sinking feeling when you find a crucial client email or a school trip notification buried in your spam folder, days after it was sent? It happens to everyone. By 2026, our inboxes are protected by spam filters that are smarter and more aggressive than ever. While they do a great job of keeping junk out, they often make mistakes, catching legitimate messages in the crossfire.
Learning how to whitelist an email is the only way to fix this for good.
It's about taking control. Instead of just hoping important messages find their way to you, you're giving your email service a direct command: "This sender is trusted. Always let them through." This small action shifts you from being a passive victim of your inbox to an active manager of your digital life.
The Problem With Overly Aggressive Spam Filters
Email providers are fighting a never-ending war against spam and phishing. The scale of the problem is mind-boggling. In 2023 alone, a staggering 1.76 billion phishing emails were sent, marking a 51% jump from the year before. With nearly half of all global email traffic being spam, these filters have no choice but to be tough. You can read more on this in Security Magazine's report on the rise of phishing attacks.
But this toughness has a downside. Important emails—a proposal from a new client, a password reset from a software tool, or an urgent alert from your child's daycare—can easily be mistaken for junk.
Whitelisting is your personal override switch. It’s you, the human, telling the automated system that you’ve personally vouched for a sender. It ensures their messages get the priority they deserve and are delivered correctly, every single time.
Real-World Scenarios Where Whitelisting Matters
Knowing how to whitelist an email is more than just a neat trick; it's about preventing missed opportunities and keeping communication flowing smoothly. I've seen it make a huge difference in countless situations.
Here are just a few common examples:
- For Small Businesses: You’ve just signed a contract with a new partner. The first thing you should do is whitelist their entire domain. This guarantees that every invoice, project update, and critical message gets to your inbox instantly.
- For Families: As a parent, you're juggling emails from schools, sports teams, and doctors' offices. A missed email could mean a forgotten parent-teacher conference or a missed deadline for a permission slip. Whitelisting these senders provides peace of mind.
- For Job Seekers: Imagine a recruiter sends you an interview request, but it lands in your spam folder. By the time you find it, the opportunity might be gone. Whitelisting a recruiter's email or a company's domain is an essential step in any job search.
Taking a few seconds to whitelist a key address isn't just a minor technical tweak anymore—it's a fundamental habit for staying organized. It's also a crucial piece of a broader strategy for managing your digital footprint. For more on this, you might find our guide on how to protect your privacy online helpful.
Getting Your Important Emails Whitelisted on Major Platforms
Alright, let's get down to the practical side of things. Knowing why you need to whitelist an email is one thing, but knowing how is what really matters. The process is a bit different for each email service, but don't worry—it's surprisingly straightforward once you know where to click.
The goal here is simple: find your email provider in the list below and get that critical sender’s emails landing in your inbox, not your spam folder. It usually takes less than a minute.
For a quick overview, here's a table that cuts right to the chase, showing you the main action needed for each of the big email providers.
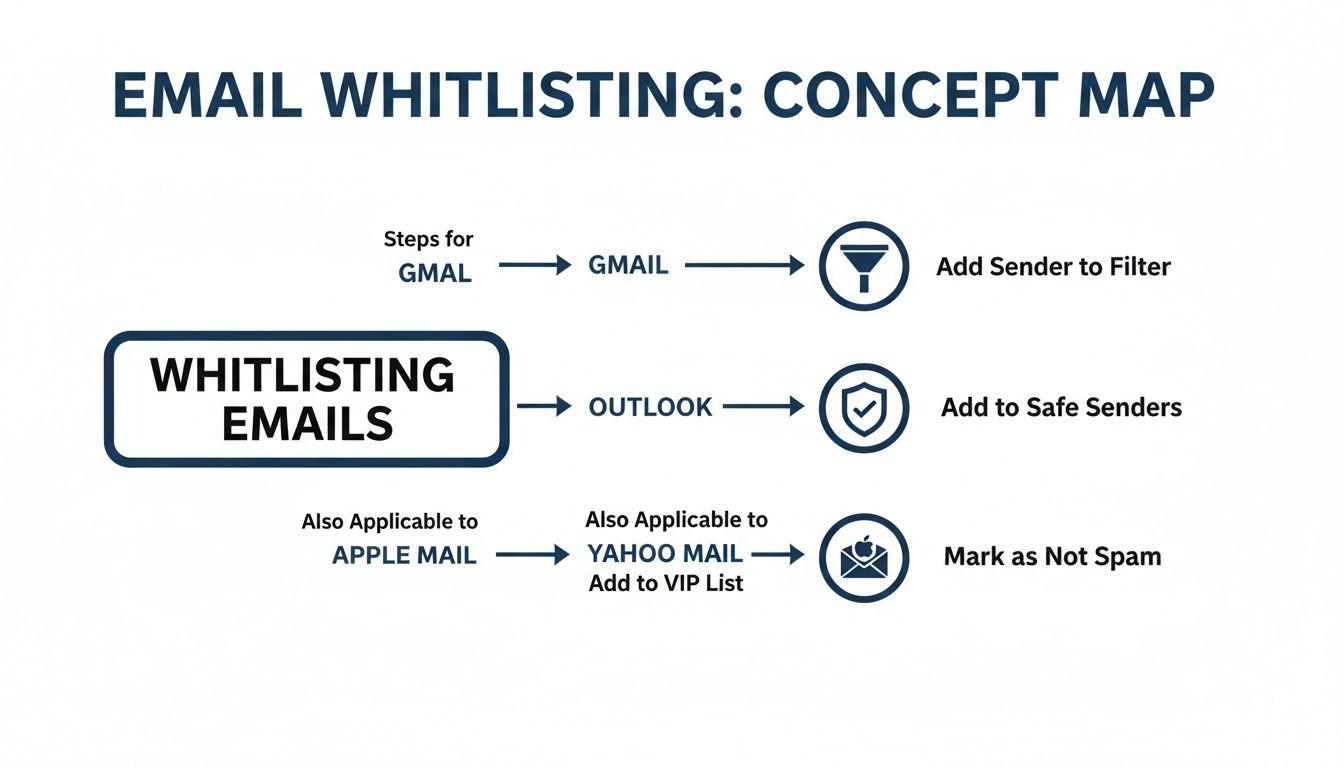
Quick Whitelist Actions for Top Email Providers
| Email Provider | Primary Whitelisting Action | Where to Find It |
| Gmail | Create a Filter | Settings > See all settings > Filters and Blocked Addresses |
| Outlook.com | Add to Safe Senders | Settings > View all Outlook settings > Mail > Junk email |
| Yahoo Mail | Create a Filter | Settings > More Settings > Filters |
| Apple Mail | Add to Contacts | The Contacts app on your device |
This table is your cheat sheet, but for detailed, step-by-step instructions, read on. We'll walk through exactly how it's done for each service.
Whitelisting Emails in Gmail
Gmail is a powerhouse, and its filtering system is your best tool for whitelisting. While simply adding someone to your contacts helps, creating a dedicated filter is the surefire way to tell Gmail, "Hey, I trust this sender. Never, ever send their messages to spam."
Here’s the most effective way to do it on your computer:
- First, open an email from the sender you want to whitelist.
- Click the three vertical dots (the "More" menu) in the upper-right corner of that email.
- From the dropdown, choose "Filter messages like these."
- A box will pop up, and you'll see the sender's email is already in the "From" field. Perfect. Just click "Create filter."
- Now for the important part: check the box next to "Never send it to Spam." For extra visibility, you could also have it "Star it" or "Always mark it as important."
- Click the final "Create filter" button to lock it in.
You've just given Gmail's algorithm a permanent instruction. From now on, it knows you've personally vouched for that sender, which makes a huge difference in deliverability.
How to Whitelist an Email in Outlook
If you're using Outlook—whether it's Outlook.com, Hotmail, or the desktop app—your magic key is the "Safe senders and domains" list. Adding an address or domain here is like giving it a VIP pass straight to your inbox.
For Outlook.com (The Web Version):
- Look for the gear icon (Settings) in the top-right and click it.
- At the bottom of the pane, select "View all Outlook settings."
- Navigate to "Mail" and then "Junk email."
- Under the "Safe senders and domains" section, click "Add."
- Type in the full email address (
[email protected]) or, even better, the entire domain (@business.com) and hit Enter. - Don't forget to click "Save"!
For the Outlook Desktop App:
- From the "Home" tab, find the "Junk" button in the ribbon (it might be under a "Delete" group).
- In the dropdown menu, select "Junk E-mail Options."
- Switch over to the "Safe Senders" tab and click "Add."
- Pop in the email address or domain, click "OK," and then "Apply" to save your changes.
A Quick Tip from Experience: For business communications, always try to whitelist the entire domain (@example.com) rather than a single email address. This is a game-changer. It prevents you from missing a critical invoice from their accounting department or an update from a new project manager, just because it wasn't from the one person you originally whitelisted.Adding Senders to Your Yahoo Mail Whitelist
Yahoo Mail operates much like Gmail, using a filter to direct mail exactly where you want it to go. By setting up a quick filter, you can ensure emails from a trusted source always land safely in your inbox.
Let's get it done:
- Find the Settings icon in the top-right corner, then click on "More Settings."
- From the menu on the left, choose "Filters."
- Click the "Add new filters" button to get started.
- Give your filter a memorable name, like "Client Whitelist" or "Newsletter Subscriptions."
- Under the "Set rules" section, make sure the first box is set to "From" and the rule is "contains."
- In the text field, type the email address or domain you want to approve.
- Finally, for the action, confirm that "Inbox" is the selected folder for the message.
- Click "Save," and you're all set.
This simple rule now acts as a gatekeeper, automatically pulling any mail from that sender out of the spam flow and placing it right where you'll see it.
Advanced Whitelisting for Businesses and Power Users
If you're running a business or are just a power user who depends on email, you know that whitelisting a single contact is often not enough. When you're managing communications with a key client, your project team, or a critical vendor, you simply can't risk missing an email from anyone in that organization. This is exactly why whitelisting an entire domain is so crucial.
It’s about moving from a reactive approach—adding contacts one by one—to a proactive one.
As you can see, every email provider has its own quirks—Gmail uses filters, Outlook has its "Safe Senders" list—but they all work toward the same goal: making sure important messages land in your inbox.
How to Whitelist an Entire Domain
Let’s take a real-world scenario. Imagine you’ve just started working with a company called "Innovate Corp." You could add [email protected] to your safe list, but what happens when [email protected] from their accounting team sends you an invoice? You’d have to whitelist him, too. It’s inefficient.
A much smarter move is to whitelist the entire @innovatecorp.com domain.
The process is almost identical to adding a single email address. The only difference is what you type into the field. Instead of the full email, you just use the domain name, starting with the "@" symbol.
- For Gmail: When creating a filter, just put
@innovatecorp.comin the "From" field. - For Outlook: Head to your "Safe senders and domains" settings and add
@innovatecorp.comto the list.
That's it. With that one simple action, you're telling your email service to trust every email that comes from anyone at that company. For businesses, this is more than a convenience; it's a fundamental part of maintaining reliable communication channels. It also plays a role in keeping your data safe, a topic we explore further in our guide to secure file sharing for businesses.
What's Happening Behind the Scenes?
Have you ever wondered what goes on under the hood when your inbox decides if an email is spam or legit? It's not just about the words in the message. Your email provider looks for a set of technical, invisible signals known as sender authentication protocols.
Think of it like a package delivery. SPF checks if the mail truck came from the right post office, DKIM ensures the package's seal is unbroken, and DMARC is the final instruction telling you what to do if either of those checks fails.
These three protocols—SPF, DKIM, and DMARC—work in concert to verify that an email is really from who it says it's from and that it hasn't been tampered with. When you whitelist a sender, you're essentially giving them a pass, but it’s these background checks that help your email provider make the right call automatically for everything else.
This is especially critical in the world of B2B communications. According to a 2023 benchmark study from Validity, aggressive spam filtering can cause global inbox placement rates to drop from an average of 91% down to a startling 68%. Whitelisting, combined with these strong authentication signals, creates a powerful defense to ensure your important messages don't get lost in the shuffle.
How to Verify Your Whitelist Is Working Correctly
You’ve carefully created a filter or added a sender to your contact list—but how do you know it actually worked? Just assuming everything is fixed is a common mistake that can lead to missing that one critical email. Taking a moment to verify your new rule is the final step, giving you peace of mind that important messages will land where they belong.
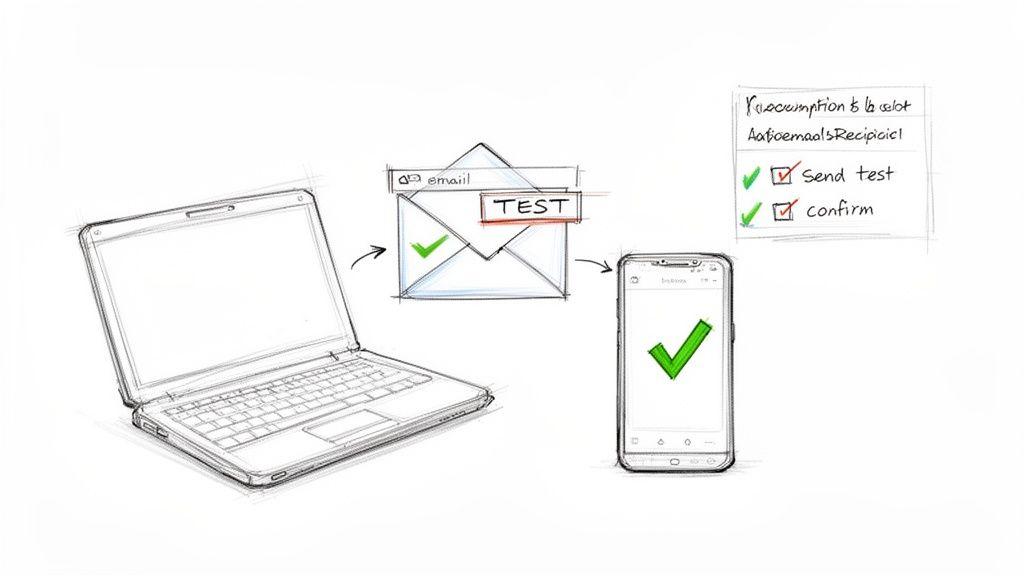
The most straightforward way to check your work is to simply ask the sender for a test email. A quick message like, “Hey, I just adjusted my settings. Could you send me a quick test email with the subject ‘Whitelist Test’ when you have a second?” is usually all it takes. When that email pops up right in your main inbox, you’ll know your new rule is doing its job.
Simple Steps to Test Your Whitelist
If asking the sender directly isn't practical, you can often trigger a test yourself. For example, if you just whitelisted an address from an online service you use, try initiating an automated email. A password reset request or a new account confirmation email works perfectly for this.
Here are a few practical ways to confirm your whitelist is active:
- Request a Test Email: This is the most direct method. Just ask the person to send a new message and see where it lands.
- Trigger an Automated Message: If it's a service like a billing portal or a software tool, use a feature like "Forgot Password" to prompt an email.
- Send from an Alternate Account: If you whitelisted a personal contact and happen to have access to their account (or another one of your own), you can send a test email from that whitelisted address to yourself.
This small verification step is what separates hope from certainty. It ensures the time you just spent setting up your whitelist wasn't wasted and that your communication will be reliable from now on.
What to Do If It Still Goes to Spam
Finding an email you just whitelisted in your spam folder is incredibly frustrating. But don’t give up—it's usually because of a simple oversight, not because the system is broken. A little detective work can almost always solve the problem.
A whitelisting rule is powerful, but it’s not always the only rule in play. Conflicting filters or a simple typo can override your new setting, sending an important email right back to the junk folder.
Before you get too discouraged, run through this quick checklist of common culprits:
- Check for Typos: This is, by far, the most frequent reason a whitelist fails. Go back and double-check that you spelled the email address or domain perfectly. A simple mistake like
@gmal.cominstead of@gmail.comwill make the rule completely useless. - Look for Conflicting Rules: Do you have another filter set up that archives, deletes, or moves messages from that same sender? An older rule you forgot about could be clashing with your new one. It's a good idea to review your full list of filters and delete any that are redundant or conflicting.
- Confirm Address vs. Domain: Think about what you were trying to achieve. Did you whitelist
[email protected]when you really needed to whitelist the entire@business.comdomain? If an email from a different person at the same company went to spam, you'll need to edit your rule to cover the full domain instead of just one specific address.
Common Whitelisting Mistakes to Avoid
Even a seemingly straightforward task like whitelisting can have its share of trip-ups. A small mistake here can mean the difference between a tidy, secure inbox and a crucial missed opportunity. Getting this right isn’t just about convenience; it’s a fundamental part of managing your digital life safely.
The most common culprit? A simple typo. It's shockingly easy to type [email protected] when you meant to add [email protected] to your safe list. One wrong letter and the rule is useless. You’ll be left scratching your head, wondering why their emails are still getting buried in spam. Always, always double-check the spelling before you hit save.
Domain vs. a Single Email Address
Another frequent oversight is adding a single email address when the whole domain is what you really need. Let's say you whitelist [email protected] to make sure you see her messages. That's great, but what happens when [email protected] sends over a time-sensitive invoice? That email is probably going straight to your spam folder.
A much smarter move is to whitelist the entire domain: @clientcompany.com. Doing this tells your email provider to trust any message coming from that organization, not just from one person. It’s a proactive fix that saves you from future communication breakdowns.
Creating Conflicting Rules
As your list of filters and rules gets longer, it’s easy to create conflicting instructions without even realizing it. For instance, you might have a filter that automatically sends all emails from a specific sender to a "Receipts" folder. But then, a few months later, you create a new rule to mark emails from that same sender as "Important" and keep them in your main inbox.
Your email client will get confused. It might follow the first rule it finds, or worse, do something completely unpredictable. It's a good habit to review your filters every so often and clean out anything that’s redundant or contradictory. This keeps your inbox working for you, not against you.
With business email compromise (BEC) attacks causing an estimated $2.77 billion in losses and a staggering 370,187 unique phishing campaigns launched in just one quarter of 2023, a simple mistake can be incredibly costly. Spam filters are aggressive for a good reason. You can dig into the full scope of these threats in the detailed 2023 Phishing Landscape report.
Finally, resist the urge to whitelist too broadly. Approving a massive, generic domain like @gmail.com is a massive security gamble. You’re essentially telling your spam filter to stand down for millions of users, swinging the door wide open for phishing scams and junk mail. Keep your whitelist lean, specific, and focused only on the senders you know and trust.
Common Questions About Email Whitelisting
Even with a step-by-step guide, you might run into a few specific questions. Let's tackle some of the most common ones I hear from people trying to get their inboxes under control.
Whitelisting vs. Adding to Contacts: What's the Real Difference?
This is a great question, and the distinction is important. When you add someone to your contacts, you're essentially telling your email service, "Hey, I know this person." It’s a good signal that can help their messages avoid the spam folder.
But whitelisting is a direct order. You're creating a hard-and-fast rule that says, "Messages from this exact email address or domain must always come to my inbox." It’s a much stronger, more definitive action that bypasses the spam filter's usual guesswork. Think of it as giving someone a permanent VIP pass to your inbox.
Does Whitelisting Mean an Email Will Never Go to Spam?
In almost every case, yes. When you set up a whitelist rule in Gmail, Outlook, or Yahoo Mail, it's about 99% effective. It’s the single most powerful tool you have to ensure a trusted sender's messages land where they should.
However, there are very rare exceptions. If an incoming email contains something overtly dangerous—like a known virus or a link to a malicious site—your email provider's top-level security might still block it. This is a crucial safety feature that protects your device and data, operating above and beyond your personal settings.
How Often Should I Clean Up My Whitelist?
It’s a smart habit to give your whitelist or safe sender list a quick check-up once or twice a year. I like to think of it as digital spring cleaning for my inbox.
A clean whitelist is an effective whitelist. Removing old, unnecessary rules helps prevent potential conflicts and ensures your email client can process your instructions efficiently. It keeps your inbox management sharp and focused.
As you review, you can:
- Remove domains from old vendors or clients you no longer work with.
- Fix any typos you might have made when creating a rule.
- Consolidate rules. For instance, if you have
[email protected]and[email protected], you can replace them with a single rule for the whole domain:@business.com.
Keeping your inbox organized is a key part of professional communication. To take it a step further, check out our guide with some great email etiquette samples.