You’re probably here because you need to send something today, not because you want to become an archive-format expert.
A client wants a contract. Your accountant needs tax documents. Your kid’s school form includes home address details and ID scans. Or you’re sending research notes and don’t want the whole folder sitting unprotected in email. On a Mac, it’s easy to compress files. It’s less obvious how to secure them in a way that fits the particular circumstances.
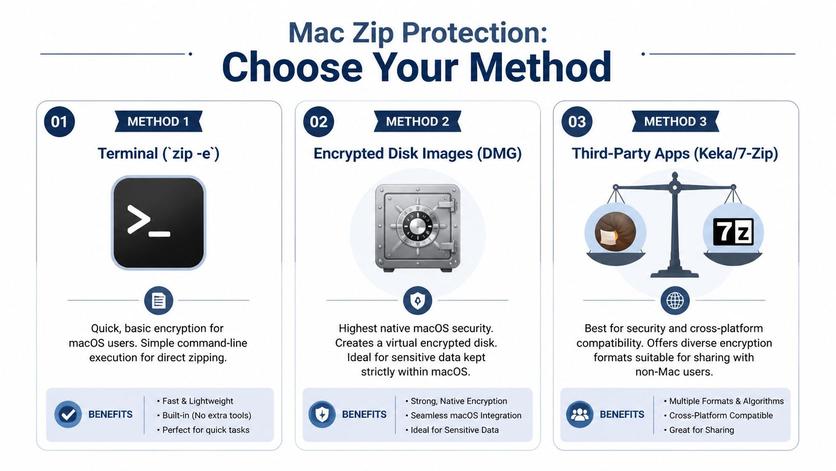
That’s the key to mac password protect zip choices on macOS. There isn’t one perfect method. There are three different trade-offs: fast and built-in, strong and native, or secure and shareable. The best option depends on who’s receiving the file, how sensitive it is, and whether you care more about convenience or stronger encryption.
Why Password Protecting Files on Your Mac Matters
Sending an ordinary ZIP file is like putting papers into a neat folder. It helps with organization, but it doesn’t stop anyone from opening it. If that file contains invoices, passport scans, payroll records, legal drafts, or student data, compression alone doesn’t give you privacy.
That matters for different reasons depending on who you are. A small business might need to protect client files before sending them over email. A family may want to store identity documents in a safer package before backing them up. A student might be sharing project materials that include personal information from classmates or unpublished work.
The risk isn't theoretical
Individuals don’t typically lose files because they used the wrong app. They lose control because they treated a sensitive file like an ordinary attachment. Once an unprotected file leaves your Mac, you’re relying on every inbox, forwarded message, cloud sync, and recipient device to behave perfectly.
That’s why password protection is basic digital hygiene. It won’t solve every security problem, but it adds a real barrier between your files and anyone who shouldn’t see them.
Security starts before the file is opened. If the archive itself is unprotected, everything after that is damage control.
For teams, this sits alongside broader access policy. If you manage employee devices or client records, the thinking behind AuditReady on access control is useful because file encryption works best when it supports a larger habit of limiting who can access what.
Three ways Mac users usually handle it
On macOS, many users end up in one of these camps:
- Terminal users who want a quick built-in ZIP with a password.
- Disk Utility users who care more about native Mac security than universal compatibility.
- Third-party app users who want stronger encryption in a format that’s still practical to share.
Each method works. The question isn’t whether you can password-protect files on a Mac. You can. The question is which trade-off makes sense for your actual use case.
The Built-in Way Using Terminal for Quick Encryption
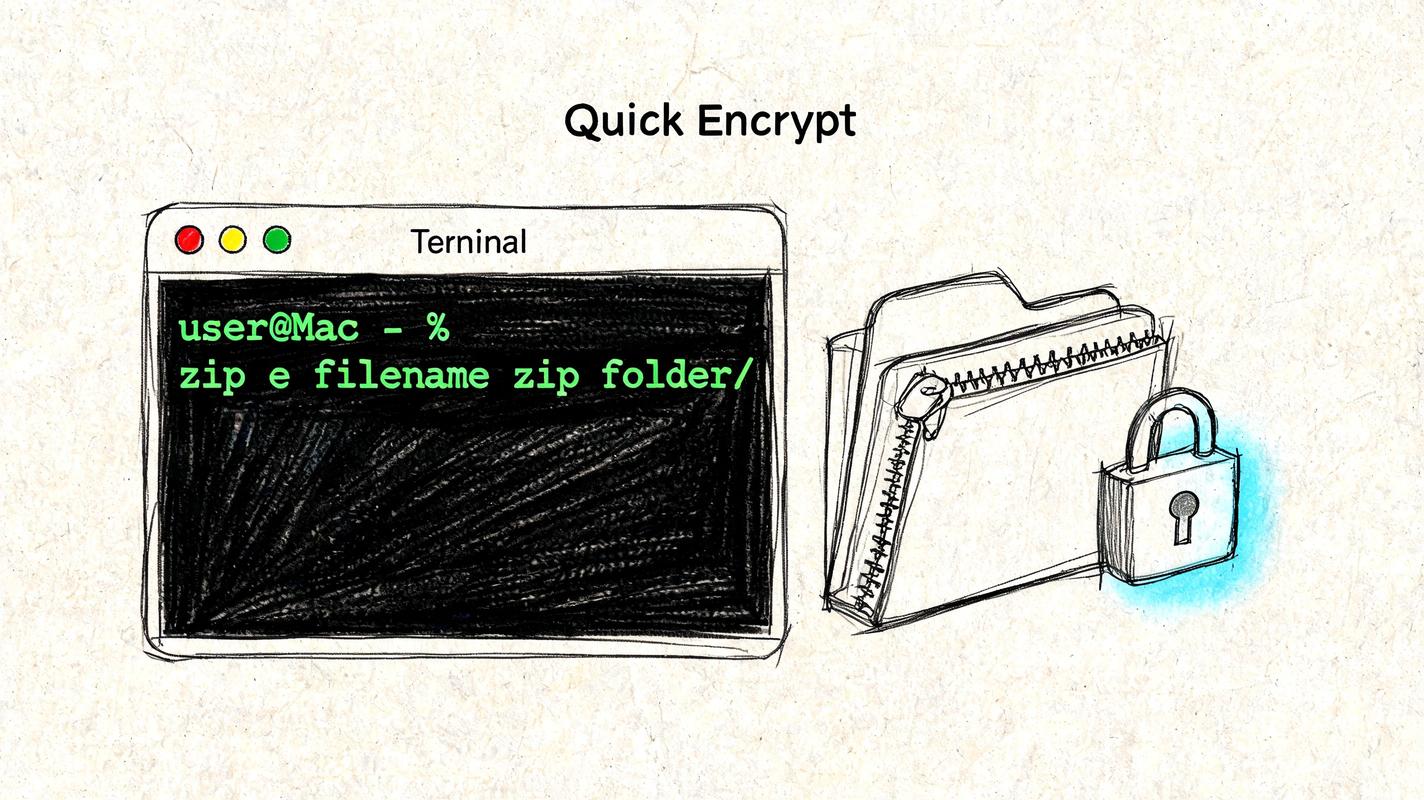
If you want the fastest built-in answer to mac password protect zip, Terminal is it. No extra download, no setup, and no app hunting. You type one command, enter a password, and macOS creates a password-protected ZIP archive.
The command to use
Open Terminal and use this pattern:
zip -e archive-name.zip your-file-or-folder
Example:
zip -e tax-docs.zip Documents/TaxFolder
After you press Return, Terminal asks for a password and then asks you to verify it. You won’t see characters appear while typing. That’s normal.
If you want to avoid path mistakes, type the command up to the space before the file or folder name, then drag the folder into the Terminal window. macOS will paste the full path for you.
A clean step-by-step workflow
- Open Terminal from Applications > Utilities, or use Spotlight.
- Type the command with your preferred archive name.
- Drag the source folder into Terminal if you don’t want to type the path manually.
- Press Return and enter the password twice.
- Find the ZIP file in your current working folder.
A practical example looks like this:
zip -e client-proposal.zip /Users/yourname/Desktop/ProposalFiles
That creates client-proposal.zip and protects it with the password you set.
When Terminal is a reasonable choice
Terminal is good for short, simple jobs:
- You need it now: You don’t want to install anything.
- You’re sending low-sensitivity files: Internal notes, routine paperwork, or temporary bundles.
- You want a standard ZIP file: The recipient can usually open it with common tools.
It’s also handy if you already live in Terminal and prefer direct commands over a graphical app.
Practical rule: Use zip -e when convenience matters most and the files aren’t sensitive enough to justify stronger tools.The trade-off you shouldn’t ignore
Here’s the part many quick tutorials gloss over. The built-in zip -e method is old. It comes from the Info-ZIP utility that has been part of macOS since its Unix-based roots around 2001, and it uses traditional ZIP encryption with a 96-bit key. A cited summary also notes that despite known weakness against modern brute-force approaches, 28% of 50,000 Mac users in a 2023 Setapp survey still used zip -e for quick encryption, mainly because it’s convenient and already there (Apple Discussions summary).
The built-in ZIP password option is better than sending a plain archive, but it isn’t the method I’d choose for client financials, identity documents, or anything that could create real fallout if exposed.
That doesn’t make it useless. It makes it situational.
What works and what doesn't
What works well
- Fast one-off protection
- No third-party software
- Standard ZIP output
- Good for basic friction against casual access
What doesn’t
- It’s not the strongest choice for serious confidentiality
- Terminal is awkward for people who dislike command lines
- Password mistakes can be frustrating because the prompt hides your typing
If you’re sending something that would be embarrassing, expensive, or regulated if leaked, this isn’t the level I’d trust by default. For that, use a stronger method.
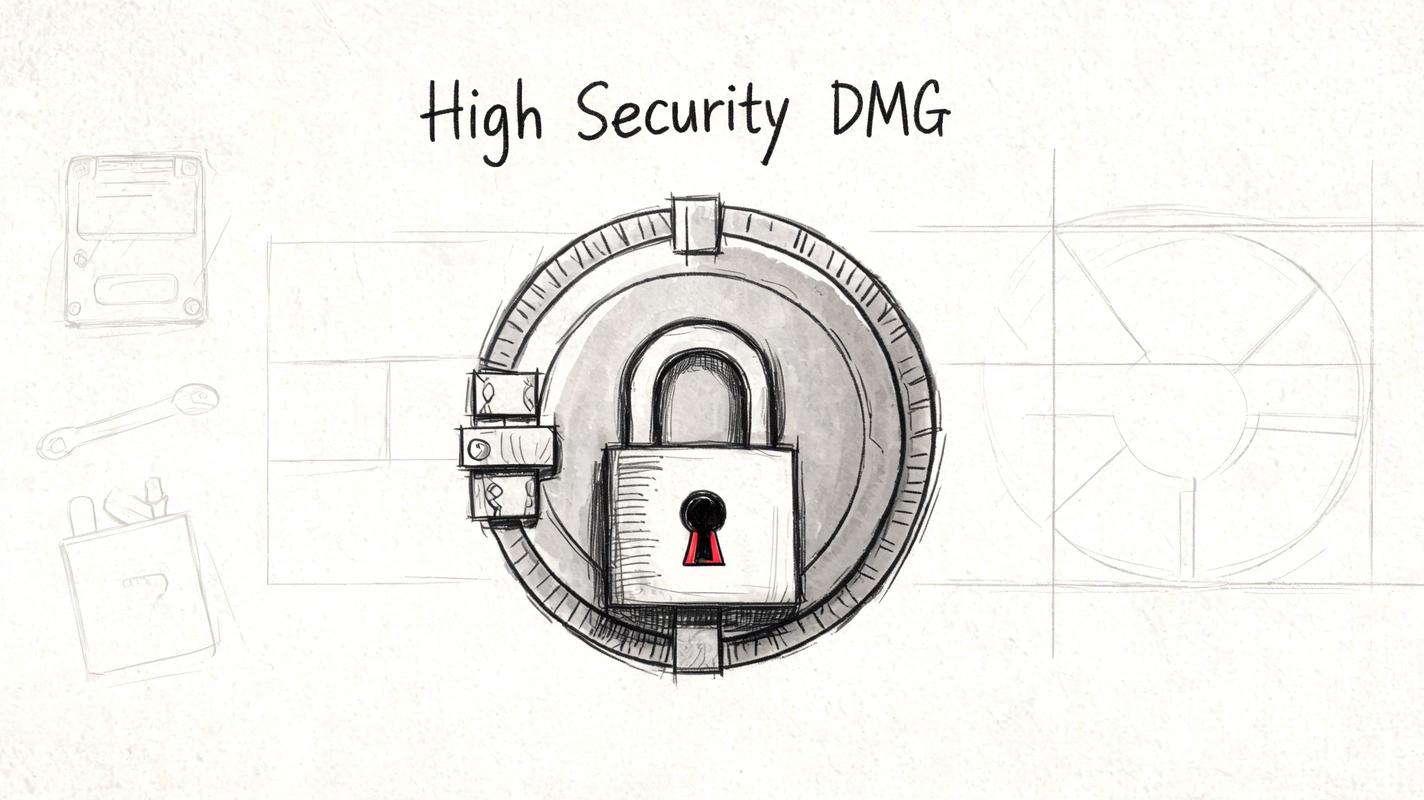
The High-Security Native Option Encrypted Disk Images
If you want strong native protection without installing another app, use Disk Utility to create an encrypted disk image, usually a DMG. This isn’t the same as making a ZIP file. It’s more like creating a locked container that holds your files.
For many Mac users, this is the strongest built-in option because it uses Apple’s own disk image tools and gives you a cleaner security posture than old ZIP encryption.
How to create an encrypted DMG
Open Disk Utility, then follow this path:
File > New Image > Image from Folder...
Choose the folder you want to protect. After that, macOS asks where to save the image and how to configure it. The important settings are the encryption and image format options.
A practical setup is:
- Encryption: Choose AES-256 if you want the strongest native option
- Image Format: Usually read-only is fine for sending or archiving
- Password: Enter a strong password and don’t save it in the keychain if the whole point is stricter control
Once the DMG is created, you can send that file instead of a ZIP.
Why this method is stronger
This is the built-in choice I’d use for files I care about, especially if the recipient also uses a Mac. It avoids the weakness of the older ZIP encryption method and leans on the Mac’s stronger native encryption support.
It also feels more controlled in practice. When someone opens the DMG, they mount it like a virtual drive. That makes the protected file set behave more like a secure container than a casual compressed archive.
If the file is sensitive and everyone involved uses Macs, an encrypted disk image is the cleanest native answer.
The compatibility problem
The catch is simple. A DMG is a Mac-oriented file type. Macs handle it well. Windows and Linux users may need extra software or may not be able to open it easily at all.
That makes DMG a poor choice for mixed-device collaboration. If you’re sending files to a client on Windows, a vendor on Linux, or a school administrator who may not know what a DMG is, this method often creates support work you didn’t want.
Best use cases for DMG
Disk Utility provides the solution:
- Mac-to-Mac transfers: You and the recipient both use macOS.
- Long-term personal archives: Family records, scanned legal documents, or financial folders you want stored more safely.
- Sensitive internal business material: Draft contracts, HR documents, or board files that stay inside a Mac-based team.
And when I wouldn’t use it:
- Cross-platform sharing
- Fast, no-explanation email attachments
- Situations where the recipient is not technical
A few practical setup choices
Some users get tripped up by the options in Disk Utility. Keep the decisions simple:
| Setting | Recommended choice | Why |
| Encryption | AES-256 | Best native security option |
| Image format for sharing | Read-only | Cleaner for sending and prevents accidental edits |
| Password storage | Don’t save in keychain for sensitive files | Preserves the access barrier |
| Recipient type | Mac users | Avoids compatibility friction |
This is the method for people who value native security first and don’t mind giving up ZIP compatibility. It’s excellent in the right environment and annoying in the wrong one.
The Best of Both Worlds Recommended Third-Party Apps
For many, the best answer to mac password protect zip is a third-party app that creates a standard archive with stronger encryption and an easier workflow. That’s the middle ground most users prefer. Better security than Terminal, fewer compatibility headaches than DMG, and less friction than command-line work.
Why dedicated archive apps usually win
Apps like Archiver, BetterZip, and Keka exist because the built-in options each leave something on the table. Terminal gives you convenience but weaker legacy ZIP encryption. Disk Utility gives you stronger native protection but turns your files into a DMG, which isn’t ideal for everyone.
A good archive app fixes both problems. You get strong encryption and a format that’s still easy to share.
One cited market summary puts that shift plainly: third-party apps like Archiver and BetterZip offer AES-256 encryption, and Archiver had over 1.2 million downloads by Q1 2026, while 2023 Jamf Nation polls showed 85% preference for GUI tools over Terminal (Setapp overview). That matches what I see in practice. Users prefer not to memorize commands, opting instead for a file they can drag, drop, protect, and send.
What using one feels like
The exact screens differ by app, but the workflow is similar:
- Open the app
- Choose ZIP or another supported archive format
- Turn on encryption
- Set a password
- Drag in your files or folder
- Create the archive
With Keka, for example, the process is especially simple. You enter a password, choose ZIP, and drag the folder onto the app window. BetterZip and Archiver add more control, such as previewing archive contents, adjusting settings, and building repeatable workflows.
Why I recommend this path for most readers
For small businesses, this is the default choice. You often need to send files to clients, vendors, accountants, or outside collaborators who may use Windows. A normal encrypted ZIP or similarly standard archive is easier to explain than a DMG and stronger than the old Terminal approach.
For students, it removes the command-line barrier. That matters when the primary task is finishing a submission, not troubleshooting syntax. If you need to protect a folder of project files before sharing them with a professor or teammate, a drag-and-drop app is less error-prone.
For families, it’s the easiest way to make better habits stick. People use the method they understand. If the secure option feels fussy, it won’t get used consistently.
The best security tool is often the one people will actually use correctly every time.
What to look for in an app
Don’t overcomplicate the shopping list. Focus on a few practical traits:
- Strong encryption support: Look for AES-256, clearly labeled.
- Simple password prompts: You should be able to verify the password without hunting through menus.
- Archive compatibility: ZIP is still the easiest format for mixed-device sharing.
- Predictable workflow: If you’ll repeat the task often, presets help.
The biggest difference between serious archive apps and casual built-in methods is reliability of experience. You’re less likely to forget a step, mistype a command, or create the wrong kind of file.
The honest downside
Third-party apps add one more dependency. You need to install software, and in some environments that matters. A locked-down work Mac may not allow it. Some people also prefer avoiding extra utilities unless they have a regular need.
That said, if you send protected files more than occasionally, I think the trade is worth it. The workflow is cleaner, the encryption is stronger, and you’re using a tool designed for this exact job instead of stretching a legacy feature past its comfort zone.
Choosing Your Method A Practical Comparison
The right choice comes down to one question. What are you optimizing for? Speed, native security, or easy sharing with stronger protection.
Mac Encryption Method Comparison
| Method | Encryption Strength | Compatibility | Ease of Use | Best For |
| Terminal zip -e | Basic, older ZIP encryption | Good for standard ZIP sharing | Moderate if you're comfortable with Terminal | Quick one-off protection |
| Encrypted Disk Image DMG | Strong native Mac encryption | Best on macOS, awkward elsewhere | Easy once you know Disk Utility | Sensitive Mac-to-Mac files |
| Third-party apps | Strong encryption with user-friendly workflow | Usually best for mixed-device sharing | Easiest for most people | Business use, students, recurring file sharing |
A fuller walkthrough of encrypted archive basics also helps if you want a second perspective on file formats and sharing choices. 1chat’s guide to an encrypted ZIP file is useful background before you settle on one workflow.
Which method I'd choose by situation
Small businesses
If you’re sending contracts, spreadsheets, onboarding documents, or client folders to people outside your company, use a third-party app. That gives you strong encryption in a format that’s easier to share across platforms.
I wouldn’t pick DMG unless everyone on the receiving end uses Macs and knows what to do with disk images. I also wouldn’t rely on Terminal for files that could create legal, financial, or reputation trouble if exposed.
Families
For household records that stay in a Mac environment, Disk Utility is excellent. It’s built in, secure, and well suited to archiving passports, insurance scans, estate documents, or medical paperwork.
If you’re sending those files to someone who doesn’t use a Mac, switch to a third-party archive app instead.
Students
Students usually need one of two things. Speed or portability. If the file isn’t very sensitive and you need a fast answer, Terminal can do the job. If the file matters and you don’t want command-line friction, use a third-party app.
A DMG is usually overkill for routine school sharing unless the file stays entirely inside a Mac-only workflow.
A simple decision filter
Use this quick rule set:
- Need it built in and right now: Terminal
- Need the strongest native Mac option: Disk Utility
- Need the best balance of security and compatibility: Third-party app
Choose the method that fits the recipient, not just your own Mac. Most file-sharing problems show up on the other person’s device.
That is the core framework. Do not ask which method is best in the abstract. Ask which method creates the fewest mistakes for this exact file, this exact recipient, and this exact level of sensitivity.
Best Practices for Managing and Sharing Encrypted Files
Encrypting the file is only half the job. People often do the technical part correctly and then undermine it with weak passwords, sloppy sharing, or last-minute testing.
Password habits that actually help
A protected archive is only as good as the password protecting it. Don’t use birthdays, pet names, reused account passwords, or anything a colleague could guess from your social profiles.
Better habits look like this:
- Use a unique passphrase: A short string of unrelated words is usually easier to remember and harder to guess than a single clever word.
- Avoid reuse: The password for an encrypted file shouldn’t be the same one you use for email or a shopping account.
- Store it properly: If you need to retain access long term, put it in a password manager rather than a notes app or draft email.
Never send the password with the file
This is the mistake I see most often. Someone emails the protected file and then replies to the same thread with the password. That defeats much of the point.
Use a separate channel instead:
- Send the file by email
- Send the password by message
- Or call the recipient and read it aloud
If the file goes through one system and the password goes through another, you’ve reduced the chance that one compromised inbox exposes everything.
Sharing rule: Separate the file and the password. Different channel, different moment.
Test before the deadline
If the file matters, test the open process before sending it to the final recipient. On your own Mac, try opening the archive from a fresh Finder window and make sure the password prompt behaves the way you expect.
Also verify practical details:
- The recipient can open the format
- The filename is clear
- The folder inside isn’t messy
- The password you wrote down is the password that works
That quick test saves a lot of frantic back-and-forth when someone says they can’t access the file five minutes before a submission or signing deadline.
Think beyond the archive itself
File encryption is part of a broader protection habit. If you want a wider checklist for handling sensitive information, this roundup of effective data protection strategies is a useful companion because it covers the operational side, not just the file-creation step.
And if you regularly send protected files to others, 1chat’s guide on sharing encrypted files is worth reading for the communication side of the process.
Troubleshooting Common Issues and FAQs
Problems usually show up after the archive is created, not during creation. These are the questions that come up most often.
What if a Windows recipient can't open my encrypted archive
First, confirm what you sent. If you created a DMG, the issue is probably compatibility, not the password. Send a standard encrypted archive from a third-party app instead.
If you already sent an encrypted ZIP and they still can’t open it, ask what app they’re using. Some built-in extractors handle encrypted archives poorly. In practice, the fix is often using a dedicated extraction tool on their side.
How do I open a password-protected ZIP on my own Mac
Double-click the archive in Finder. If macOS supports the archive properly, it should prompt for the password. Enter it and extract the contents.
If Finder struggles with the file, open it with the same app that created it, especially if you used a third-party utility.
Are there file size limits
There can be, depending on format and workflow. The practical answer is simple: for very large folders, test the archive before you send it. If the file is especially big, a dedicated archive app is usually more comfortable than a quick command-line workflow.
If you expect repeat large transfers, avoid improvising. Pick one method and test it in your normal environment.
Can I remove a password from a ZIP file
Yes, but not by editing the archive in place in a simple way. The usual approach is to open the encrypted archive with the correct password, extract the files, and then create a new archive without encryption.
That’s also a good time to decide whether you should be using a stronger passphrase instead of removing protection entirely. If you’re unsure what makes a better credential, 1chat’s breakdown of passphrase vs password is a useful starting point.
I forgot the password. Can I recover the file
Sometimes people can’t. That’s the cost of real protection. If you don’t have the password and didn’t store it anywhere, recovery may not be practical.
For important archives, the better habit is prevention. Use a password manager, save the credential intentionally, and verify access while the project is still fresh.
Which method should I use if I only want to do this once
If the file isn’t highly sensitive and you need speed, use Terminal. If the file is sensitive and the recipient uses a Mac, use an encrypted DMG. If you want the least chance of user error and the widest sharing flexibility, use a third-party app.
If you work with sensitive files often, it helps to pair secure file handling with a privacy-first workspace. 1chat gives families, students, and small teams a single place to work with leading LLMs, analyze documents, and handle AI tasks with a privacy-focused approach.